
As we know .Jpeg and .Png are the two most famous file format use globally. Being in the digitizing industry for so many decades, we have observed a lot of newbies have absolutely no idea of certain basic things. Earlier, we discussed about How To Convert JPG to PES For Embroidery Machine. In this article we try to cover JPG to DST Conversion File for embroidery machine so that you may have all information in one place. Feel free to go through what we have put together for you.
What are JPEG/JPG Files?
While dealing with images, one of the most familiar image format terms one stumbles upon is JPG, also equivalent to .JPEG. It is a type of image compression having more than one file extensions associated with it.
Convert JPEG/JPG to DST file for Embroidery Machine – Exclusively Free:
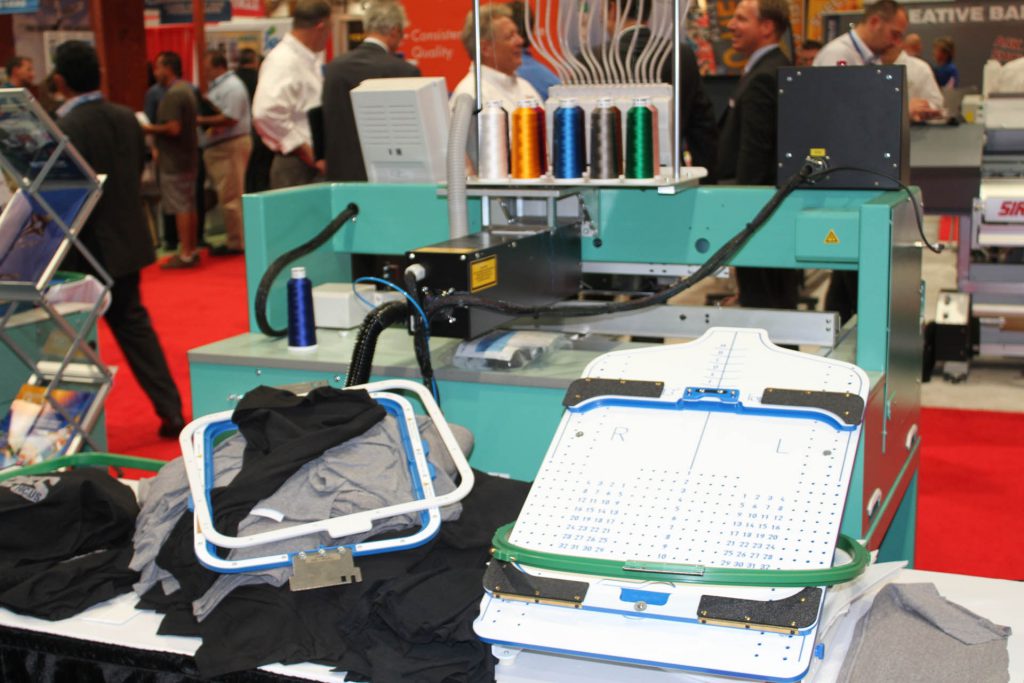
The whole process of converting a design such as a JPEG file into a DST file for fabric is called embroidery digitizing. As easy as it sounds, it is a pretty complex method demanding high expertise on automation, heavy machinery and creative ability.
Conventional image formats are widely adopted making its conversion unambiguous and clear cut. On the contrary, a JPG file can not be converted into DST by simply clicking on the Save as option.
Now that you know that there is not a quick fix solution to convert JPG to DST file we should look for alternative as solution for this. Let’s start with basics to avoid complex details involved in the process. Essentially to know what is DST File, where we use it and why there is a need to Convert JPEG TO DST.
Get Free Online Conversion or With Minimal Charges
Checking...
Retry »
Sending message...
Send Your JPG for DST Conversion
You will get reply within 5-30 minutes
What Is A DST Format File?
a DST file is a format used for embroidery and holds instructions which is readable by many embroidery machines across the world.
Why Convert JPG into DST File?
World’s leading embroidery machine manufacturer Tajima Pulse introduced DST format for embroidery. This should explain why it is becoming important to make JPG TO DST conversion.
Today we have modern computerized embroidery machine which are very efficient and smart. Majority of the operations are automated or semi-automated as compare to the old school where each stitch has to be crafted by hand carefully. These advance modern embroidery machines has completely vanished the manual effort from the process. It’s been replaced with smart, efficient embroidery machine that handle all the task.
So question is how does machine know what tasks needs to be done and where to place the stitches in pattern and then command the machine to make the trim. There must be a controlling mechanism to keep the things in order step by step. This is where DST format files comes into play. Without embroidery format file like DST, embroidery machine does not work it’s own and wouldn’t be able to understand the design pattern for placing the stitches. In short, in order to embroider the design it must be in DST format or a similar machine native format.
How to Create DST File format?
Up till now the perception that you had to convert JPG to DST should have changed now but there may be still confusion about how these DST files created.
DST files are created from scratch and thing is that not everyone can create these DST format. To use these files for commercial and professional purposes it should be prepared by professional.These process to prepared these files are well known in embroidery world as embroidery digitizing or embroidery punching.
Example:
As an example to give you better understanding we will take a JPG image and import it in our digitizing software. Person who prepare these files in software are called embroidery Digitizer who will place stitches manually and define density of the stitches and place other setting for desired placement of the design on fabric. So these are the various things that includes in preparation of the file. After completion the resulted DST file is the Digitized version of the JPG artwork.
By now, you have understanding that for preparation of these files not only require specific computer program known as digitizing software but also a skilled and experienced embroidery digitizer to get the job done professionally. So next question would be what options do we have to convert JPEG TO DST File Format?
How to Convert a JPG into a DST Embroidered File?
Let’s dive a little deeper into this topic now. Exactly how is the procedure of conversion carried out. You need to follow the following steps:
- Select JPG file for conversion.
- Now choose which digitized file format you want to convert into (DST,PES, EXP etc)
- Click convert and Voila! Wait for the conversion to finish.
Now let’s put together all the pieces of information and understand each step in detail. Suppose you want to convert your JPG file into the file format DST.
Uploading JPG File:
a DST file format holds various embroidery orders for the machine to collect them together and function. In other words, DST format provides guidelines for the embroidery machine.
Now what you need is an embroidery software, sound knowledge and expertise of computer technology and Graphics that needs to be converted into digitized file format.
Passing these three requirements, we can now finally start to learn the procedure. Let’s elaborate our steps further:
Preparing image file for conversion:
1. Drag and Drop Your Image:
You need to drag your graphic picture by putting your cursor over it, click “insert” in the menu and drop it into the program. Select the all file options while doing this.
2. Adjust the Image:
Now you can modify the size of image according to your preference by cropping.
Instead of waiting until the end of the procedure to resize the image, it is critical to do so now. It guarantees that cropping won’t change the design after it’s finalized. To do so, choose your file, then go to the toolbar at the top menu and select crop bitmap using a polygon tool with your pointer. With this tool you can also select certain sections according to your design.
It’s important to keep in mind that corner nodes may be selected by left-clicking, whereas round corner nodes can be selected by right-clicking. Lastly, once all of the picture sections have been defined, press the enter key to begin the editing step.
3. Choose Your Artwork’s Preferred Dimensions:
This determines the size of the finished embroidery pattern. Fill in the height and width fields with your measurements. Ensure to use inches instead of millimetres. Use the lock and unlock icons to adjust the width and height simultaneously.
Locking the Picture:
When you approach to the point that you’re done with your artwork, this is the tricky part where you should always lock the picture.
The reason to lock your picture is to avoid any accidental changes into the finalized design. You may press the button “k” to lock the picture and in order to reverse it that is to unlock the picture press “shift+k”. Unlocking the picture will enable you to make adjustments according to your preference.
Saving:
Now that the locking step is done, ensure that no more modification is needed. Transform your graphic (JPG format) into whatever digitized file format you intend to convert into (e.g DST, PES, PEC etc.) Assume you want to convert it into DST. Once that is done, download and save it so you can modify to a greater extent for embroidering the design.
Additional settings for End-product:
Until you can feel your end-product with your own hands, the editing journey doesn’t end. There are certain additional features that can be implemented to enhance its finish. Perhaps you would want to modify different stitching parameters such as stitch density, trims or add certain effects such as florantine effect on the thread con.
1. Florantine impact:
We intend to make our design as realistic as possible. For this we various effects such as the florantine effect comes in handy. You can select the image and then just go to the stitch panel and choose theflorantine effect. Press the button “H” to implement this setting on your favourite image.
2. Placing an underlay:
We cannot stress enough on the idea of placing an underlay at the back of the fabric. The fabric may be stretchable which in turn can ruin any good work of embroidery. Hence arises the need to take precautions at an earlier stage and use an underlay at the back. You can achieve different polished looks by using different types of stitches such as zigzag, edge run, cross stitch etc. To place the underlay, first choose the item you wish to use it on. Then, under attribute names, select the one that best suits your style. At the end of the property panel, hit the enter button or the save option.
Follow the Trail:
The embroidery machine is made to trace image’s design in a particular manner. This enables the machine to create intricate designs by following the trail. It also aids in avoiding any interruptions that may come along the way. You don’t want to create a detestable structure. It is therefore important to make your image as definitive as possible.
Time required for JPG TO DST conversion:
It literally takes more or less some seconds to convert JPEG to DST for embroidery machine. What is required is the right type of software, the expertise to handle all the functions and your graphic design. Then it is only a matter of just some seconds.
Using SewArt Software to Convert JPG to DST File:
Graphic images can be converted into raster and vector formats of embroidery digitized files by a software called SewArt. With it, the whole conversion itself is not taking place but somewhat provides help in the creation of embroidery digitized files that copies the JPG file artwork.
After all, it is nearly impossible to come up with the exact colors on the embroidery threads based on the many different colors available in the image.
What SewArt basically does is, it makes the complicated colors in your artwork much easier to work with. So first of all get yourself equipped with a computer, USB cable (that can shift your design to machine for embroidery) and two softwares namely SewArt and Parallels softwares.
Owing to its low cost, this is on the top of the list for newbies. It’s not an easy job figuring it out, but you will eventually get the hang of it. Another advantage of this software is that it’s compatible with multiple embroidery machines.
-Graphic Designing:
SewArt offers the designing tools that you may require. However, you can use other programs to design your image. Such include Inkscape and Adobe Illustrator.
Although SewArt is more than enough for all your designing needs, but you can also for other softwares such as Inkscape or Adobe Illustrator. You can also hire anyone to make designs for you. Save your work in JPG format.Only raster and, in rare situations, vector files can be transported into the software.
-Open the file and import it.
When importing, double-check the file size. Keep in mind that both the SewArt and the embroidery machine can handle the mass. Additionally, make sure that the quality is adequate.
– Double-click the JPG file to open it.
Start by opening the JPG file in SewArt and processing it. Please keep calm and wait as this may take some time to finish due to the load behind.
-Reduce the Colors in image:
You need to bring some tools into use in order to reduce colors of the original image. In other words simplify the image file saved as JPG. The tools that maybe useful for this purpose are Image Wizard, Merge Colors, Color Reduction, Posterize. You can also blend colors together if they are in any case similar to each other.
-Clean the Image:
Now you need to bring finesse into the image by deleting any excess pixels here and there. Use different tools to adjust the colors according to your requirement.
-Resize the Image:
You can alter the measurement of the image according to your desire. Re-scale the image and we’re almost there!
-Auto-stitch:
Secure a spot on the image. This will be your starting point. Go ahead and stitch. SewArt includes a stitching tool which carries the same functions as any stitching machine. It also has an Auto-sew feature where it uses fill to stitch colors separately or you may also select Stitch picker.
You need to state your exact requirements to the software. You can modify your use of features accordingly. For Example, the auto-sew option is for less complicated images for beginners specially. You can use other features for complex designs.
-Save the Image:
The last step to our conversion of JPG file into an embroidered file format (in this case DST) is saving your graphic design. When all your is editing comes to an end, press the okay key at the top. A saving window will pop up. SAVE your image as a TIF format first.Later on you will need to save your image as DST. This will at last convert your image file into embroidered file format!
Options to Convert JPEG TO DST File:
There are few options available in the market but each is suitable for set of people.
- Free Conversion:
Most of the individuals are looking to get it done for free which is impossible to get the design conversion from JPG TO DST as it’s involve digitizing process which comes with cost.
While we’re on this topic, we should know the optimal charges involved in this process. First one is the cost of Digitizing software and the other one is embroidery Digitizer. Regardless of the fact if digitizing software allows to download the files for free as trial yet it needs to be operated by a skilled person.
- Auto digitizing process:
There is another option which is by using auto-digitizing process but most of the time the quality isn’t that top notch, and it can be used for just simple designs. But it will cost you a hefty amount. As mentioned above, you can use softwares such as SewArt or Embrilliance for this purpose.
- Embroidery Digitizing Service Providers:
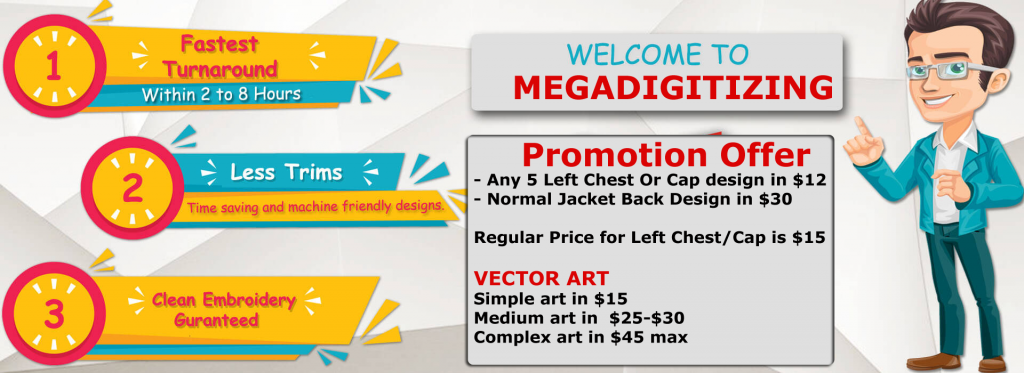
The best option is to go with reliable embroidery digitizing services provider. Mostly small designs costs you $15 so rather than go here and there get your designs digitized from digitizing company based in USA. This is the most economical solution to get JPG TO DST conversion format.
For this purpose, MegaDigitizing is the only Embroidery Digitizing Company that provides best economical solution for customers with outstanding promotional offers.
Why choosing our Embroidery Digitizing Service in USA?
– No charges for rush / urgent jobs
– No extra charges for minor revisions
– Free price quotes with digital sew-outs
– 100% Customer satisfaction guaranteed
– 24/7 Customer support
– Team of Usa Digitizers(Wilcom Digitizers & Tajima Pulse Digitizers)
– Best Embroidery Digitizing Service
– Money back guarantee
– PXF/EMB Native Files
– Dedicated Digitizer for every client
– 8-12 Quick turnaround time
– Sew out available on request
Read more topics about Embroidery
CLICK HERE TO REGISTER WITH US